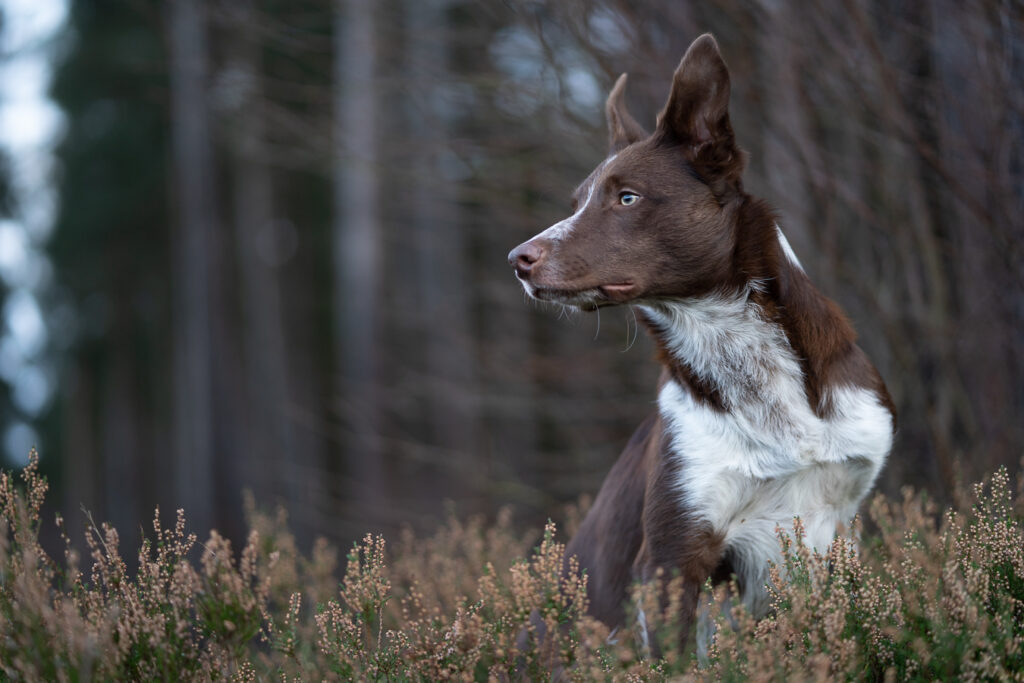
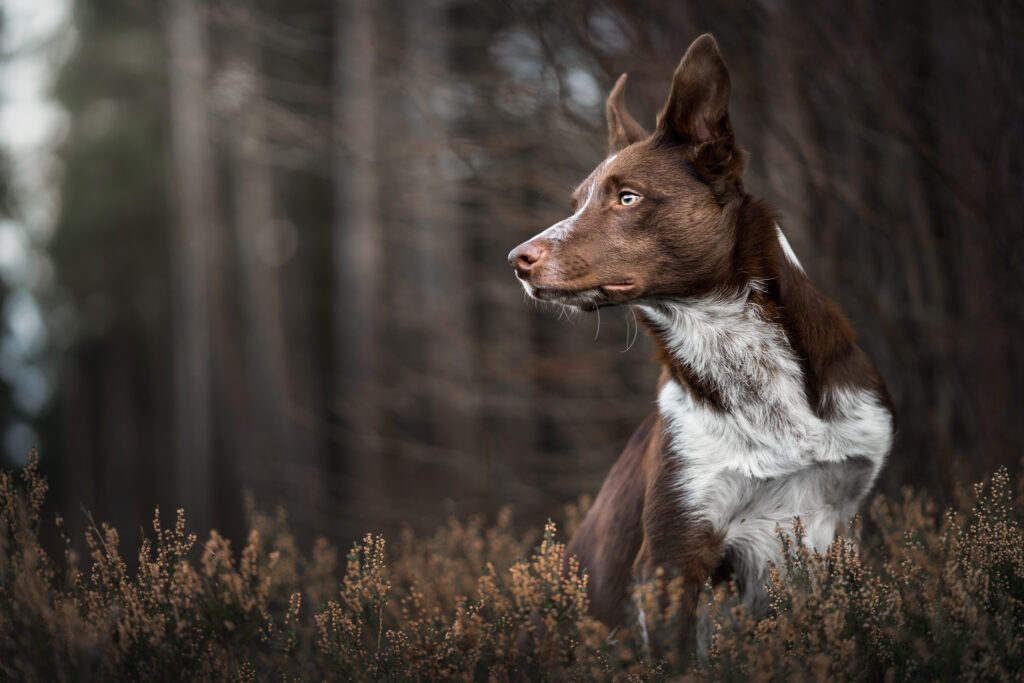
This tutorial sees us using Lightroom only to take a pretty even, simple photo of Journey, and turning it into something special. You will also find this tutorial in the Lightroom Course, but it’s such a good one I wanted to share it in the bonus tutorials as well.
We go through a thorough workflow in Lightroom, from basic adjustments to very selective edits on the background and the dog, brightening his face, enhancing his eyes, selectively darkening around him in a natural vignette. I show you how to bring together all the tools we learnt about in the Lightroom course and apply them to a photo.
You can download the .tif file of the photo and follow along too if you want! Just remember that all copyright remains with Emily Abrahams, so you’re not to use the photograph in any way, for any commercial purposes or in any competitions. If you want to post it on your social media channels you MUST make it clear that the photo belongs to me, and that you edited it as part of the course.


