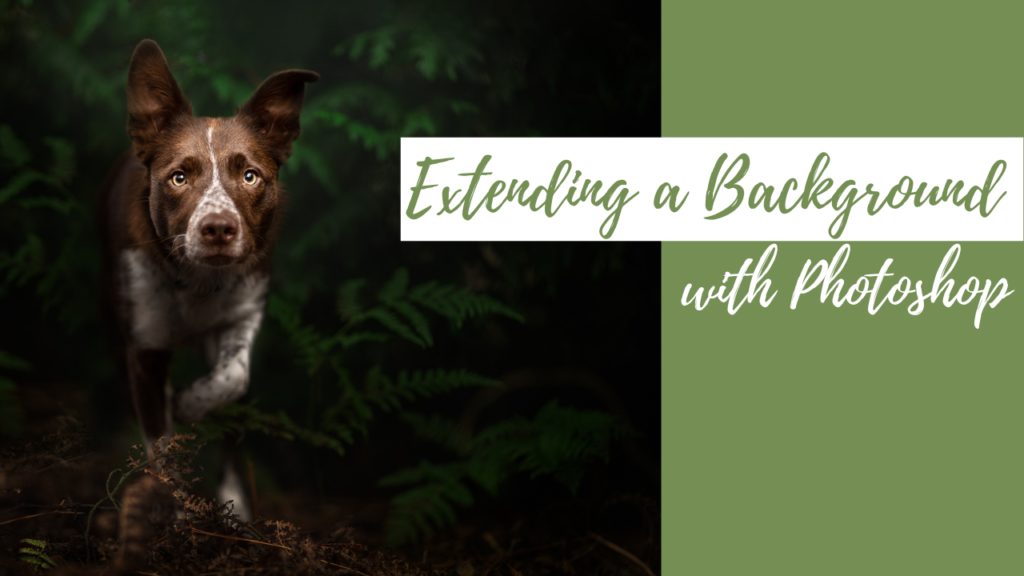
Sometimes when we’re taking photos of our pets, something goes wrong. Maybe they move, or we move, or maybe we’re only human and we just muck up the composition a little bit! Nothing major, but suddenly the dog’s ear is too close to the edge of the frame, or their feet are squashed in at the bottom, or they don’t have enough negative space to look into. Whatever the case may be, there’s something uncomfortable about the feeling. Something that makes them feel a bit trapped and cramped in the photo.
Never fear! There are a ton of ways we can fix this! In this blog post I want to share just one of my favourite methods for extending the background. You will need Photoshop for this (or other kinds of photo editing software, maybe?). It’s a super easy tool for beginners, and I’ll expand on it more in future blog posts.
Content aware crop works best if:
The dog is still intact. Eg., you haven’t cut off their ears or feet
The background isn’t super busy
Do your edits in Lightroom first, then take your image into Photoshop.
This is the image I was working on. Here, it’s only had very basic global edits in Lightoom. I chose it for the demonstration as his ear is quite close to the top of the frame and feels a bit cramped. A small adjustment should maek it a lot more comfortable! Usually I would have done a lot more work on it before editing as a “Smart Object” in Photoshop. For this tutorial I have just chosen to “Edit in Photoshop”.
Get your image up in Photoshop. Make sure you duplicate the background. Here I’ve just right-clicked and selected “duplicate layer”. If you’re using a Smart Object, you’ll need to do “new smart object via copy,” and then create an editable flat layer, by pressing: cmd +option +shift +e on your keyboard. I guess the command = control on windows.
Select the Crop tool (or hit “c” on your keyboard). And make sure “content aware” is ticked, along the top menu. When you extend your image then, Photoshop will analyse what’s in the image and create new background for you.
Click on the image to open this crop tool, and then extend the image as you want. To extend just one side (eg to add more space to the top of the image only) click in the middle and drag the image down. Be careful not to cut off his feet or to make the edge of the frame too close to his feet! To extend two corners, click the edge and drag out. You can also tilt the image using this method too if you’ve taken the photo on the angle and need to straighten it with more background. When you’ve enlarged it as much as you want, hit enter and wait.
And there you have it! Check all the parts that PS filled in. Sometimes it gets some weird ideas, or creates some straight lines, or repeats some patterns of leaves or foliage, and our eyes pick up on repeating patterns very easily so you’ll want to go in with the clone stamp tool to fix this up and make it look a bit more natural.
The extended image. Not a big change but just helps him feel a bit more comfortable in the frame.
This is the finished edit, which I will be uploading in the future as a speed-edit, and a full tutorial in my website once it’s open for memberships. Make sure you subscribe to the newsletter to be one of the first to get access to the membership site, as I will be opening the door to a limited number of students!